|
Embedded System - Raspberry Pi |
||
|
Burn the OS SD Card
The Raspberry Pi that you would get with basic price(around 35 USD) would not comes with any preloaded operating system. You may get the one with preloaded OS in a SD card, but you would need to pay some extra. In my case, I decided to buy a basic hardware and SD card separately and burn the SD card with an operating system on my own because I set this process(i.e, burning OS SD Card) as one of my learning topics as well. In most of YouTube, it may look very simple like just downloading the OS file, unzip it and copy all the files onto SD card. But I am a little bit suspicious about many of those videos.. I think they will work but they might have missed some procedure that they have done before they made the video. Since any media (e.g, SD Card, Hard Disk) with bootable operating system requires a specific format and specific program(e.g, boot loader) placed in a specific location on the media, just following up those YouTube may or may not work when you try on your own. So I would decide to go through a kind of formal procedure intruduced in Raspberry Pi official site and want to summarize what I went through in this page. It may look a little bit complicated than you might have expected if you want to use Raspberry Pi just as a low cost PC, but I may be a good study(training) topics if you want to use for a basic embedded system tool.
Followings are the required Operating system and software tools you need to get to make a bootable SD card for Raspberry Pi and detailed description for each of these tools will be explained in this page.
NOTE : I tried this and wrote the note with Raspberry Pi 3B in Aug 2018. If you are trying to burn the SD card later years (e.g, 2020), you may want to try much more easier way explained on this note.
What I used for this setup
When I writing this page, I have used followings. One thing you may notice would be that I've used 32 GB SD Card and I would recommend not to use SD Card with larger space since you may need extra steps to make the full space of the SD Card. In many of old tutorials or YouTube they may use smaller SD card like 4 GB or 8 GB, but it would not be easy to get those SD card these days (as of Aug 2018).
Download OS
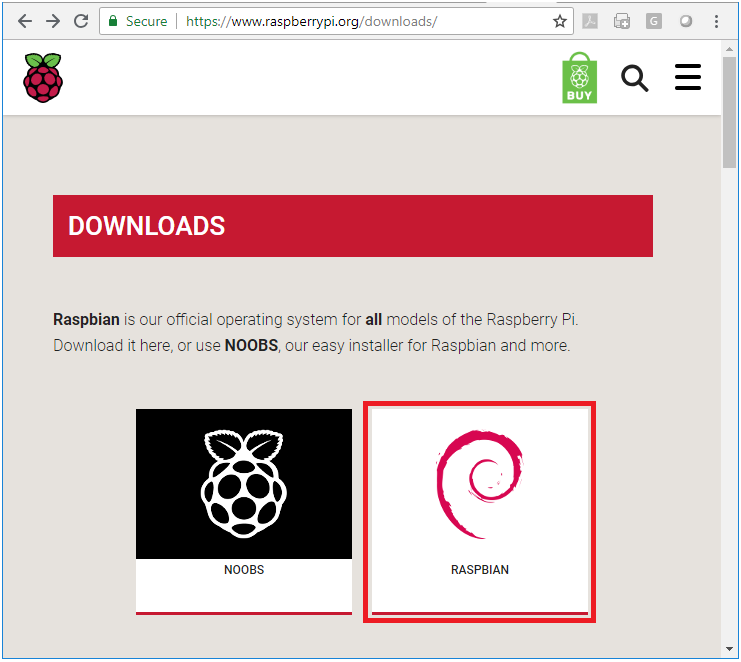
You can download the operating system for Raspberry Pi from the following site. The screenshot shows only two different OS but you will see around 10 different OS at the bottom of the pages and the list would get longer as time goes on. In most of YouTube, you would see they use NOOBs but I chose RASPBIAN because it is official OS and it is more like Linux.
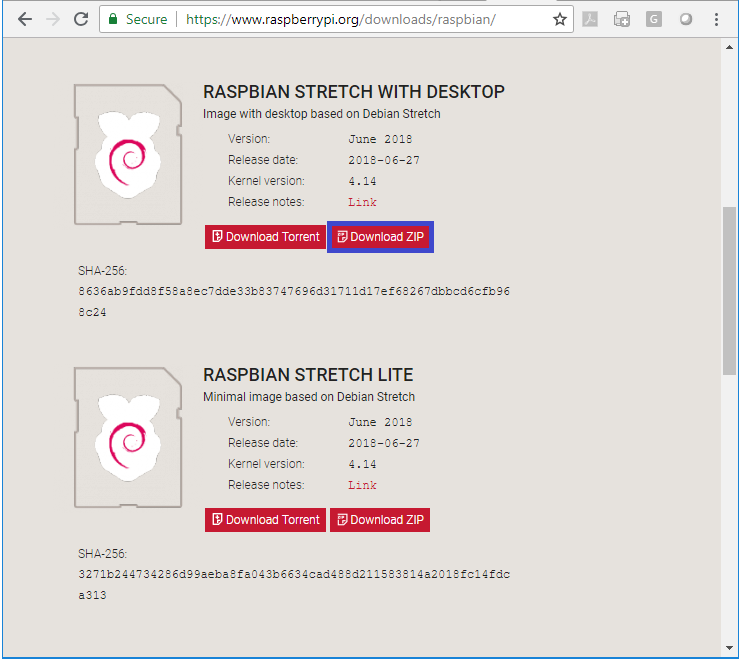
There are a couple of different options for RASPBIAN and I chose RASPBIAN STRETCH WITH DESKTOP as shown below.
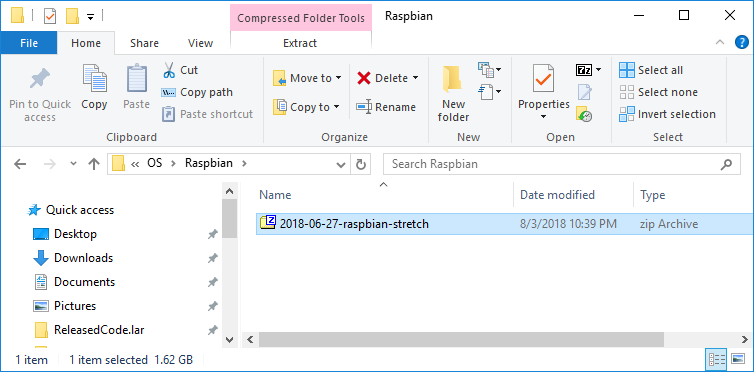
Completing the download, I got a zip file as shown below. The specific file name would vary depending on when you get it. (You don't need to unzip it, you will use the zip file as it is later).
SD Card Format
Now you need to format SD Card and format it in the way that can be used in Raspberry Pi. I downloaded the tools from www.partitionwizard.com/partitionmanager/raspberry-pi-sd-card-format.html. When I clicked on the download button, it downloaded two packages (pdr8-free and pw102-free). You may get a little bit different file name depending on when you download them and screenshot may look a little bit differently from what you would see here, but you would follow up the general logic and adjust to your own program when you get different one.
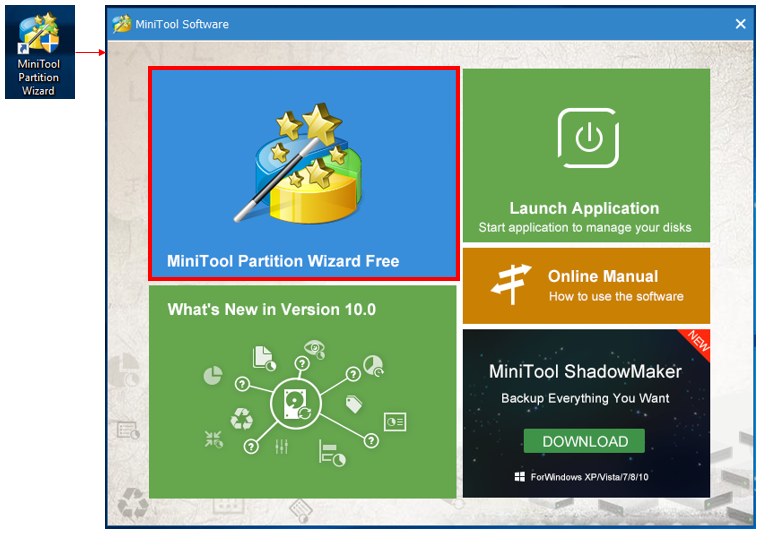
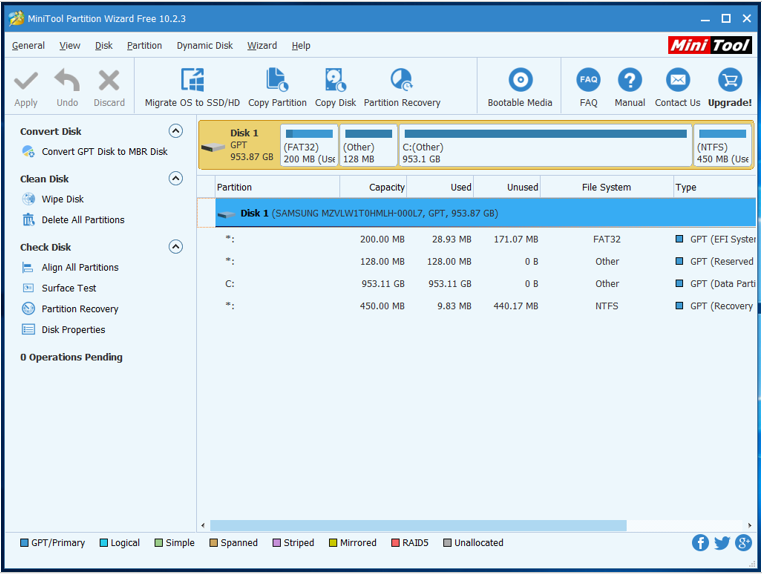
Out of the two program that I downloaded, I only needed pw102-free for the procedure in this section. Install the pw102-free and launch it to get the first screen as shown below.
In the first window, click on 'MiniTool Partition Wizard Free'.
Now you get a window as shown below. (NOTE : You would see a couple of unspecified partition marked as '*' in Disk 1. Do not try format any of the items on Disk 1 unless you fully understand what you are doing).
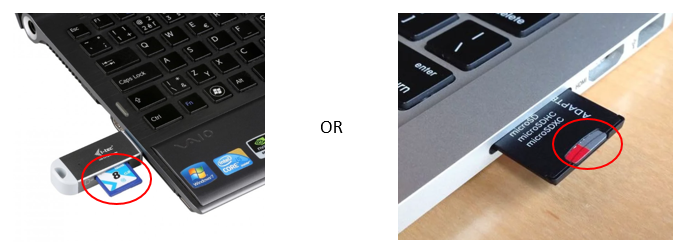
Now plug the micro SD card into your PC (it may be look like below).
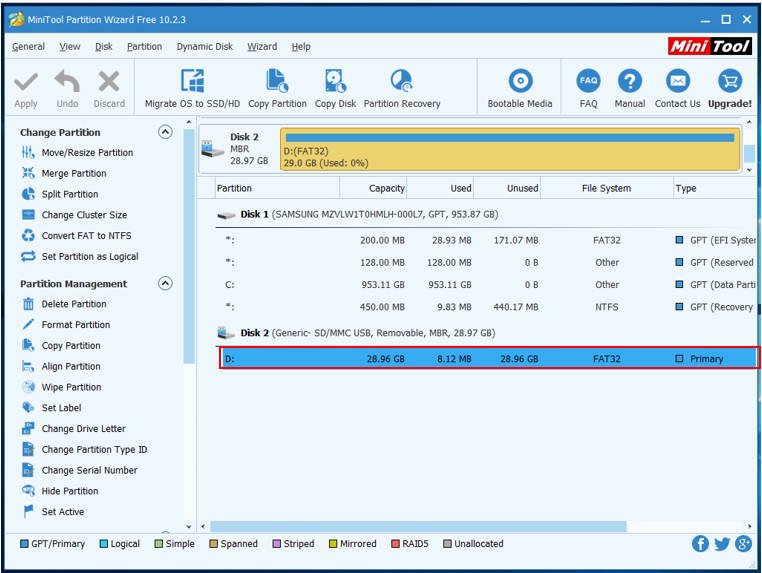
Once you plug in the card and it is recongnized by your PC, you would see additional item as shown below (depending on how many drivers you already have in your PC, you may see different driver name).
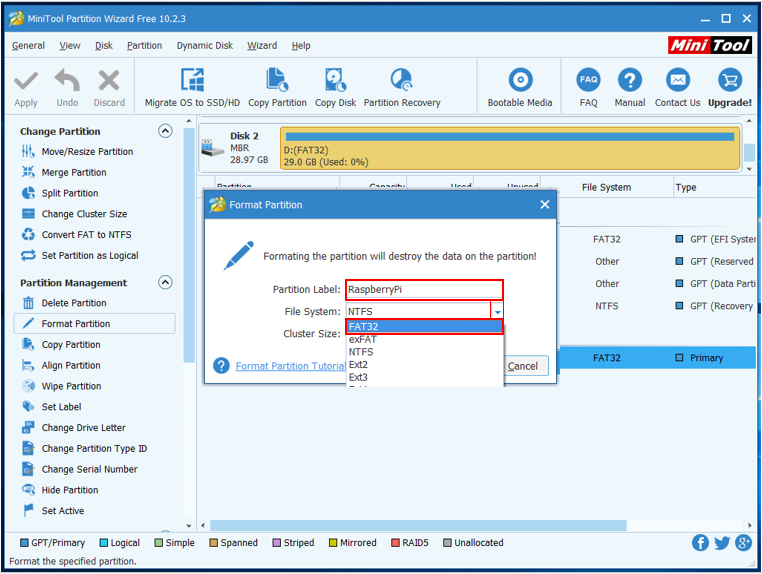
Select the SD Card and click on [Format Partion] menu. Then you will get a popup as shown below.
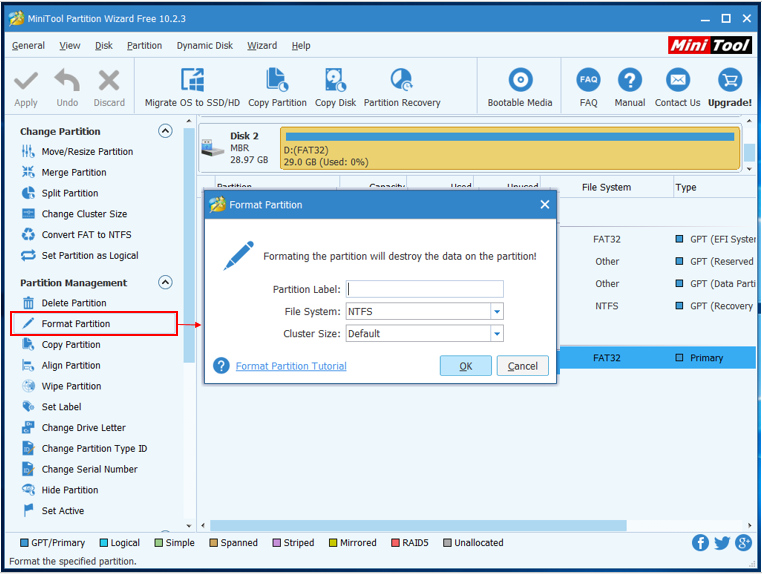
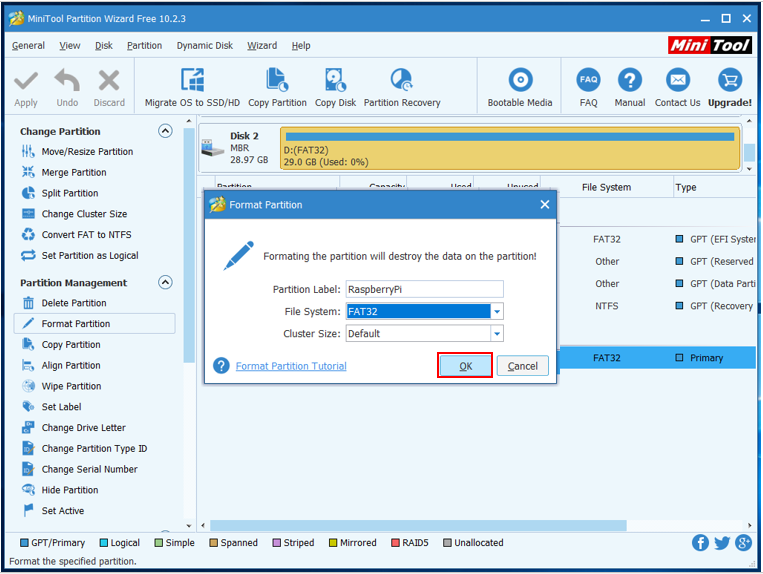
Type in Partion Label as you like and select 'FAT32' in File System as shown below (only FAT32 is supported by Raspberry Pi as of writing this document. Aug 2018).
Leave 'Cluster Size' as 'Default' and press [OK]. '
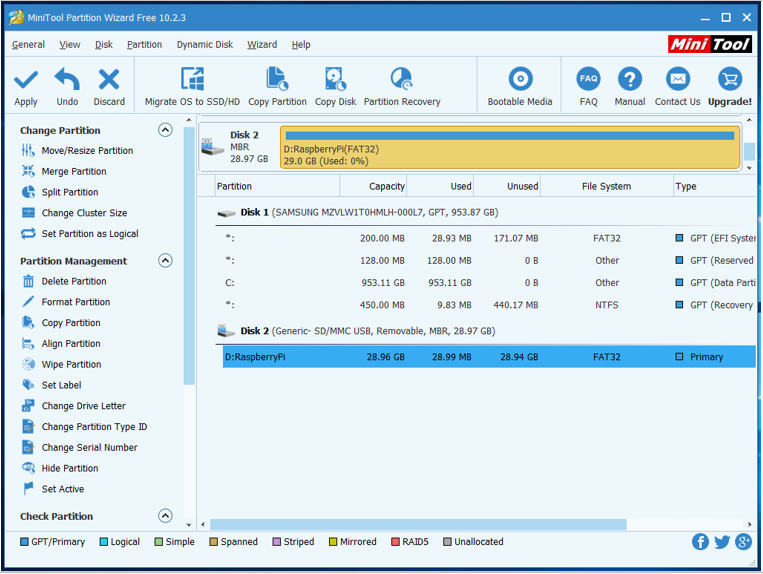
Within a second, you will get the partion done and see the state as shown below. (You may see almost no difference, but you would realize that driver label has been changed as shown below).
Imaging the SD Card
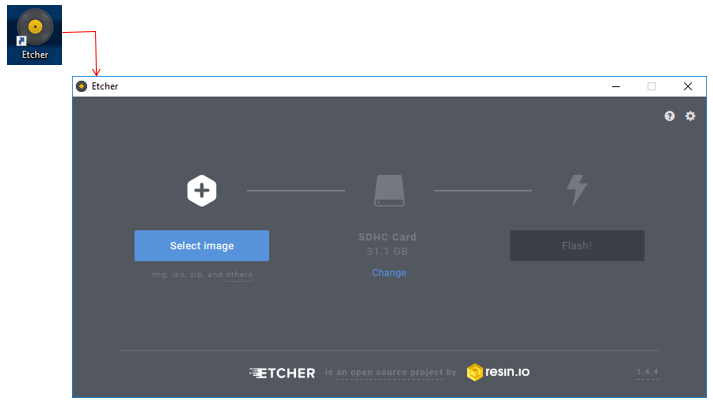
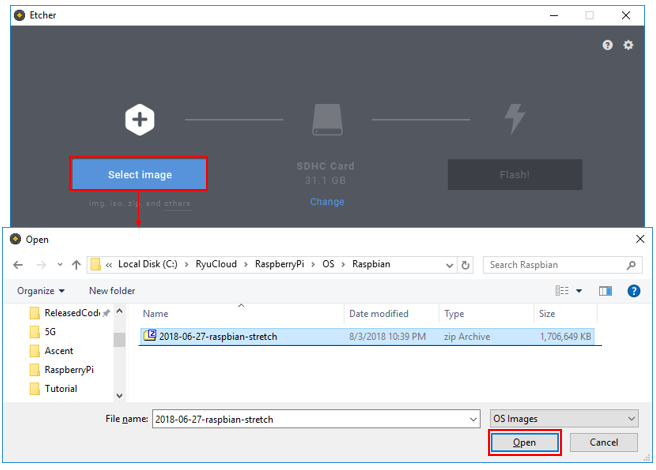
In previous section, we formated a micro SD card to be used as Raspberry Pi. In this section, we will load(flash) an Pi operating system onto the micro SD Card. The tool that I used for this purpose is called Echer that can be downloaded from www.etcher.io. Intall the program and launch it, you will get a window as shown below.
Click on [Select Image] button and you will get file open window. Select the zip file for the operating system that you downloaded and click on [Open].
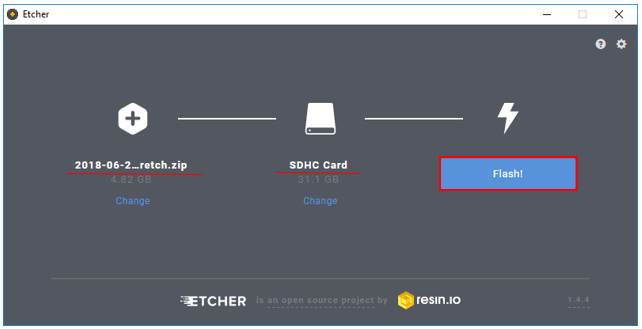
Then the window would change as shown below and [Flash] button gets activated. Click on [Flash!] button.
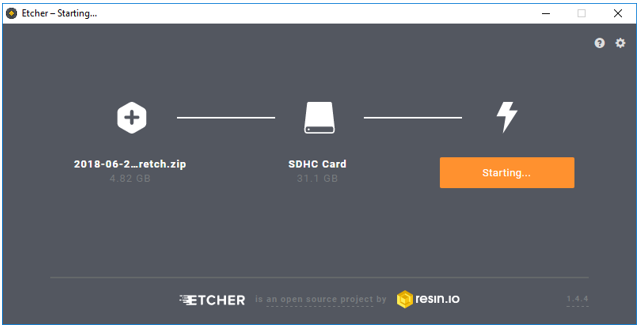
Then imaging the micro SD card starts as shown below.
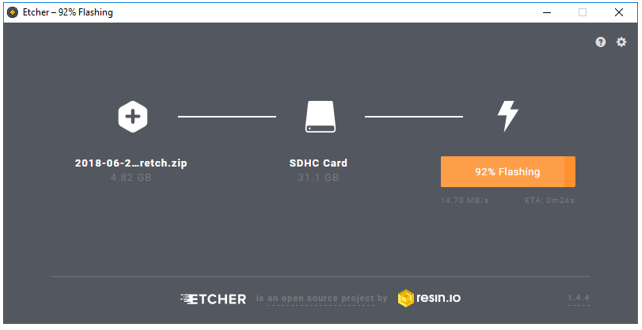
Flashing proceeds as below.
When flashing is done, validation of the flashing goes on as shown below.
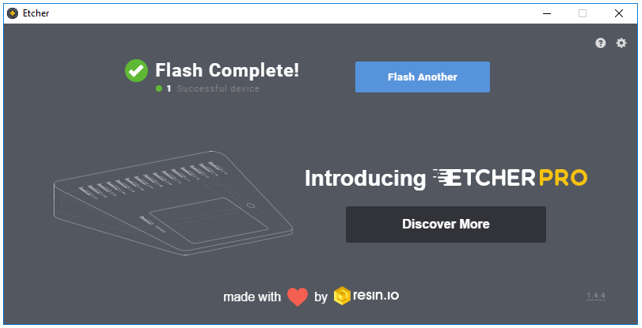
When the validation gets done, flashing finishes as below.
When everything is done, you will get the window as below. Now your micro SD card is ready to be used as boot up media for Raspberry Pi.
Reference :
[1]
|
||