|
Python |
||
|
Jupyter
Jupyter is a special tool to let you use Python on your web browser. It used to be known as IPython. But this is not provided as a part of defaul installation package (at least as of Python v3.62) and you need to install this mnually. This tutorial shows how to install Jupyter and run a web based notebook.
First, upgrade pip just to make it sure that your pip is up-to-date to ensure that it will install the Jupyter properly. (I used pip3 instead of pip because I am using Python 3.6 in this tutorial. It is recommended to use pip in Python 2.7 and use pip3 in Python 3.x. As far as I am experienced, pip still works for Python 3.x as well.. but I would suggest you to use pip3 as it is recommeded officially). If you are not familiar with pip itself, refer to pip introduction page.
I tried pip upgrade as shown below and it says my pip is up-to-date. C:\...\Python>pip3 install --upgrade pip
Requirement already up-to-date: pip in c:\users\ca090406\appdata\local\programs\python\python36-32\lib\site-packages
You can install jupyter using pip3 as shown below.
C:\...\Python>pip3 install jupyter
Collecting jupyter Downloading jupyter-1.0.0-py2.py3-none-any.whl Collecting nbconvert (from jupyter) Downloading nbconvert-5.3.1-py2.py3-none-any.whl (387kB) 100% |¦¦¦¦¦¦¦¦¦¦¦¦¦¦¦¦¦¦¦¦¦¦¦¦¦¦¦¦¦¦¦¦| 389kB 1.2MB/s
.................
Installing collected packages: pandocfilters, entrypoints, ipython-genutils, decorator, traitlets, jupyter-core, MarkupSafe, jinja2, pygments, webencodings, html5lib, bleach, mistune, jsonschema, nbformat, testpath, nbconvert, wcwidth, prompt-toolkit, pyzmq, jupyter-client, simplegeneric, pickleshare, parso, jedi, colorama, ipython, tornado, ipykernel, jupyter-console, Send2Trash, pywinpty, terminado, notebook, qtconsole, widgetsnbextension, ipywidgets, jupyter Running setup.py install for pandocfilters ... done Running setup.py install for MarkupSafe ... done Running setup.py install for simplegeneric ... done Successfully installed MarkupSafe-1.0 Send2Trash-1.4.2 bleach-2.1.2 colorama-0.3.9 decorator-4.2.1 entrypoints-0.2.3 html5lib-1.0.1 ipykernel-4.8.0 ipython-6.2.1 ipython-genutils-0.2.0 ipywidgets-7.1.0 jedi-0.11.1 jinja2-2.10 jsonschema-2.6.0 jupyter-1.0.0 jupyter-client-5.2.1 jupyter-console-5.2.0 jupyter-core-4.4.0 mistune-0.8.3 nbconvert-5.3.1 nbformat-4.4.0 notebook-5.3.1 pandocfilters-1.4.2 parso-0.1.1 pickleshare-0.7.4 prompt-toolkit-1.0.15 pygments-2.2.0 pywinpty-0.5.1 pyzmq-16.0.3 qtconsole-4.3.1 simplegeneric-0.8.1 terminado-0.8.1 testpath-0.3.1 tornado-4.5.3 traitlets-4.3.2 wcwidth-0.1.7 webencodings-0.5.1 widgetsnbextension-3.1.0
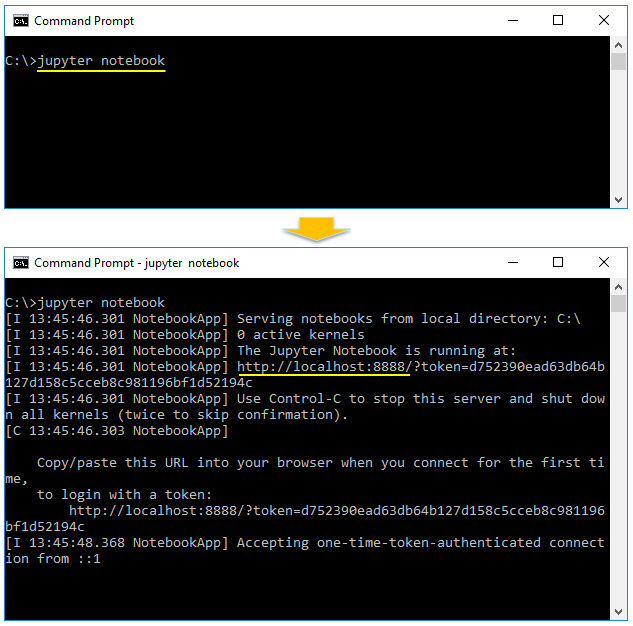
Open up a command prompt window and run jupyter as shown below. Then you will see various server status information as shown below (of course, you don't need to read all of the print-outs)
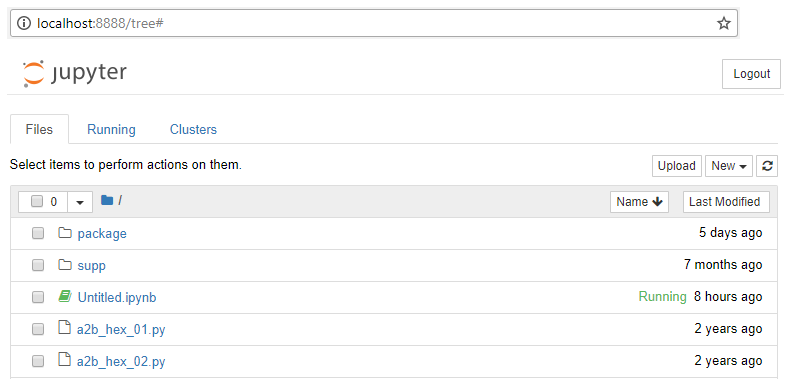
When run the command shown above, Jupyter runs automatically on your default browser as shown below.
Openning a new notebook and running Python command
First, create a new notebook as shown below.
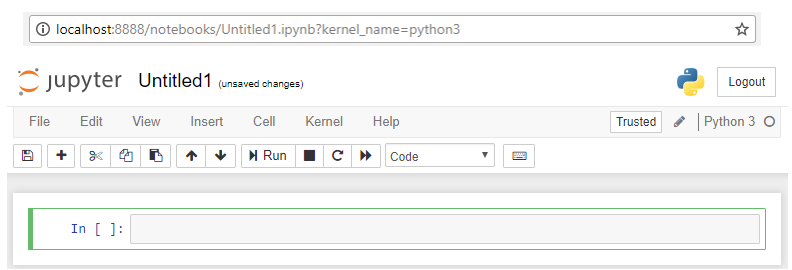
Then you will have a command prompt as shown below.
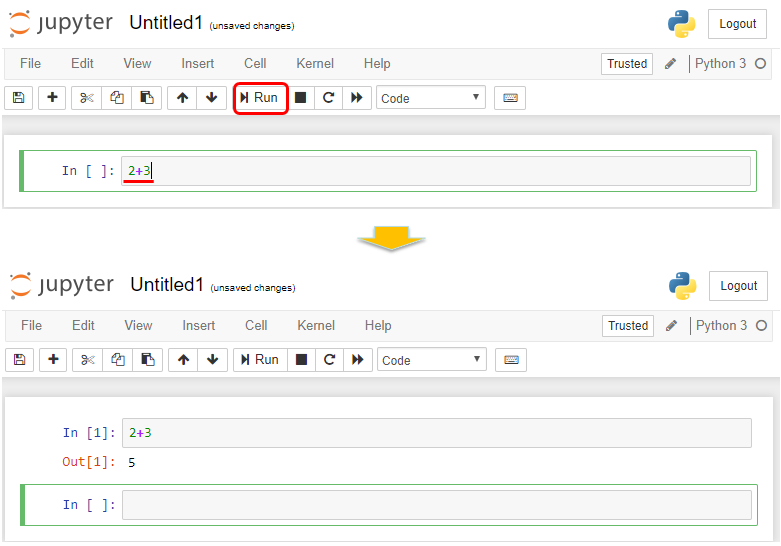
Now you can type in Python command and hit [Run] button, then you will get the result as shown below.
Shift + Enter ==> run the current cell, select below. Ctrl + Enter ==> run selected cells. Alt + Enter ==> run the current cell, insert below. Ctrl + S ==> save and checkpoint.
|
||


