Working on Linux Shell
Once you are success with the initial connection setup, the next step is to get access to Linux Shell environement on the board that will be explained in this page. Once you get success with this step, the remaining things is same as any other normal Linux environment. If you are already familiar with Linux environment, you can apply the knowledge and experience that you already have. If you are relatively new to Linux environment, Linux pages in Sharetechnote would help to some degree. (If you are completely new to Linux, some of the basic command list here would help you).
There are many different way to get access to Linux environment on the board and I will explain some of the popular / handy method in this page.
- Using Cloud9 on Web Browser
- Using SSH (Using PuTTY)
- Using TightVNC
- Using WinSCP
- Troubleshoot with connection
Probably the easiest way is to use the Beaglebone specific development environment provided by the web server running on the board itself. It is very simple as shown below.
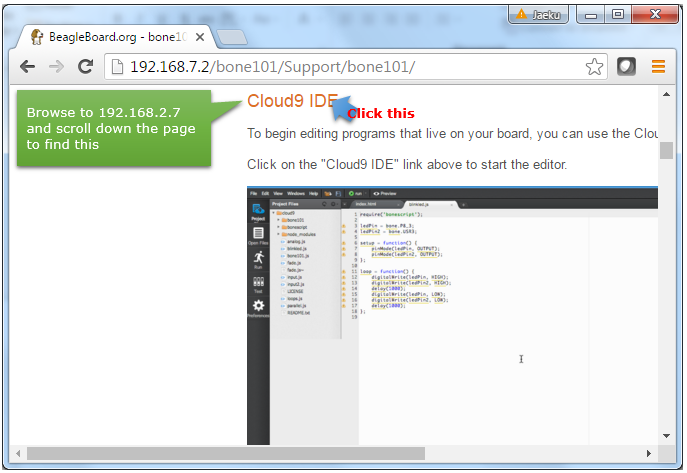
Step 1 : After connecting the board to your PC over USB, browser to 192.168.7.2 and scroll down the page until you find the title Cloud9 IDE. And click on the title.
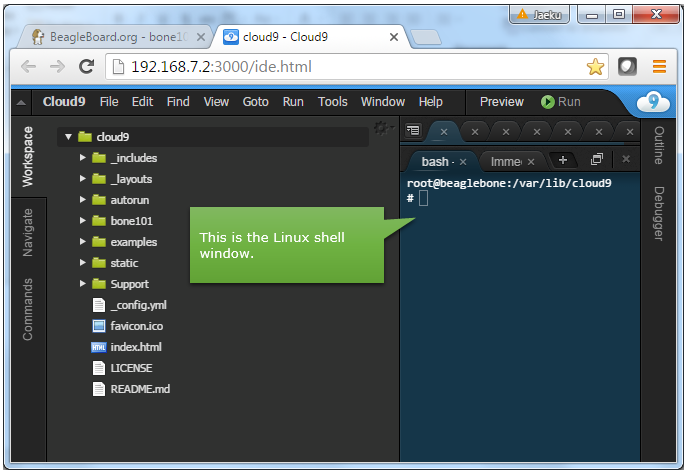
Step 2 : Now you would get a page as shown below and you would find a command shell window on the side or at the bottom of the page as shown below.
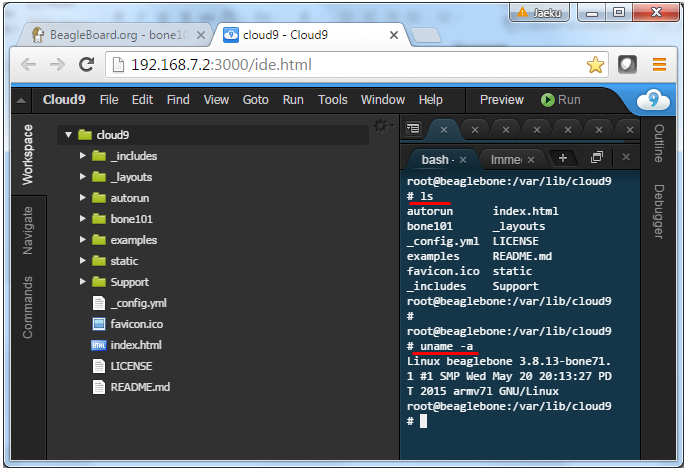
Step 3 : Now you can try whatever Linux command you want (See Basic Command List for your reference). Following is some of the examples.
This method may be just a little more complicated than the previous method, but I prefer this method mainly because you can apply this method to many other Linux based development board. You might have already been familiar with this method.
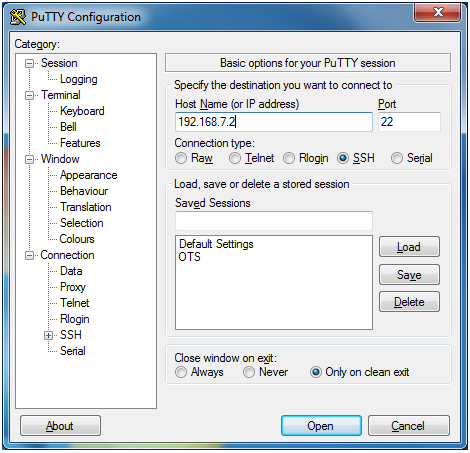
NOTE : I am trying this on my Windows 7 PC and PuTTY program for this.
Step 1 : Run the PuTTY program and set the Host Name(IP address) to be 192.168.7.2 and port number / connection types as shown below. And click [Open] button.
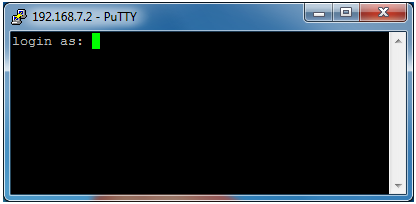
Step 2 : Then you would have following log in screen.
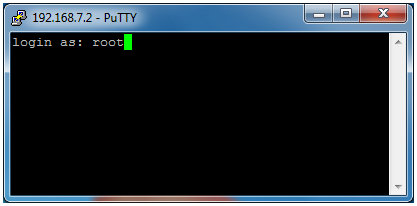
Type in 'root' as shown below and hit Enter.
Then in some case you may get another prompt asking for password (if you set the password), but in default setting it would not ask for password and give you following prompt.
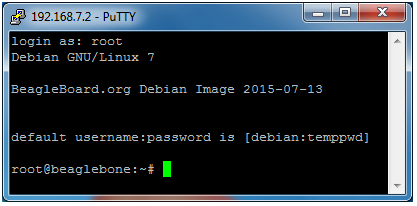
From here, it is like any other Linux.
The connection methods explained above are all for connecting to the Linux command window, not for connecting Linux GUI. In most case, just connecting to command window would be OK, but in some case it would be much convinient to work in GUI environment. For example, if you want to run a text editor program to write a program, it would be easier to use GUI based text editor rather than VI.
In this section, I will show you how to connect to Linux GUI with an applicated called 'tightVNC'. One of the reason is that if you are using the relatively recent Linux Kernel on Beaglebone, tightVNC Server is installed there by default. If you are working on old Linux kernel that does not have tightVNC, you can install it by 'apt-get install tightvncserver'.
In this tutorial, I assume that the tightVNC Server is installed on the Linux of the board and you have installed tightVNC viewer (tightVNC Client) on your host PC (the PC to which the Beaglebone is connected). You can download the client from internet for free.
Step 1 : Login to the Beagblebone with PuTTY and Run tightVNC Server on the Linux on the Beaglebone.
You can run the server by typing in the command tightvncserver :1 as shown below. If you run the server for the firsttime, you would get a prompt requesting to specify a password. If you get this prompt, specify the password as you like. You will need to use this password in step 2.

Step 2 : Launch TightVNC Viewer(Client) and connect to Beaglebone
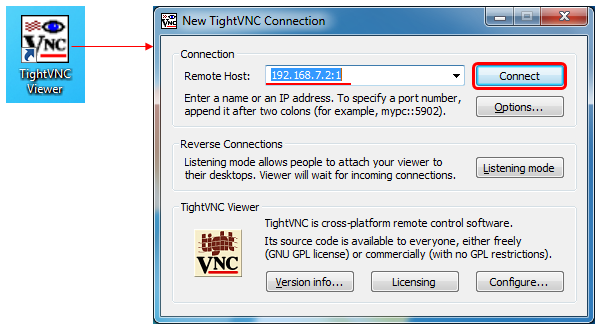
If you launch TightVNC Viewer, you will get a connection window as shown below. Type in 192.168.7.2:1 as shown below and hit [Connect] button.
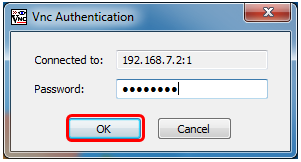
Then you would get a popup as shown below asking for password. Type in the password specifed for the server in Step 1 and hit [OK].
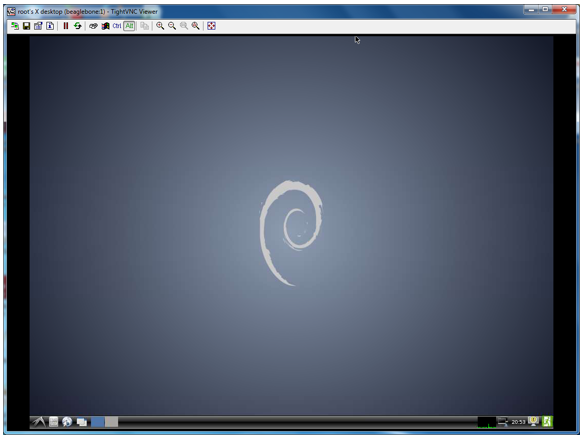
Then you will get the Linux GUI showing up in your PC as below.
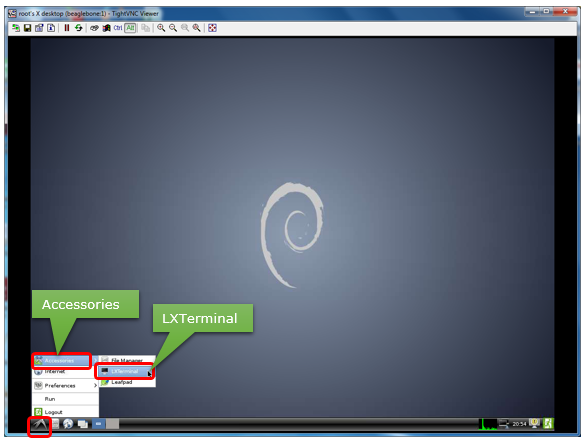
Step 3 : [Optional] Run a Terminal window (command window). This is optional. You don't need to do this if you don't need. The Linux on Beaglebone (Debian) comes with a Terminal Window called LXTerminal. You can run this program as shown below.
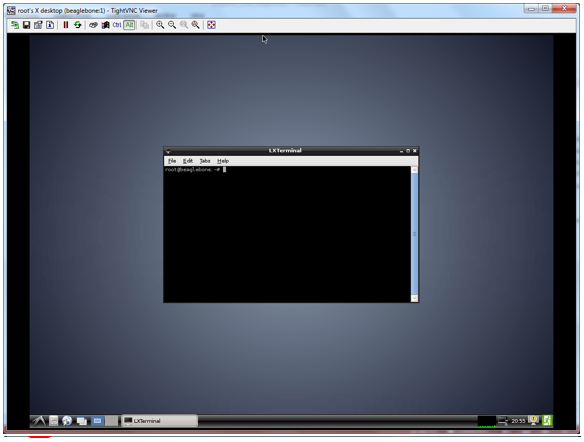
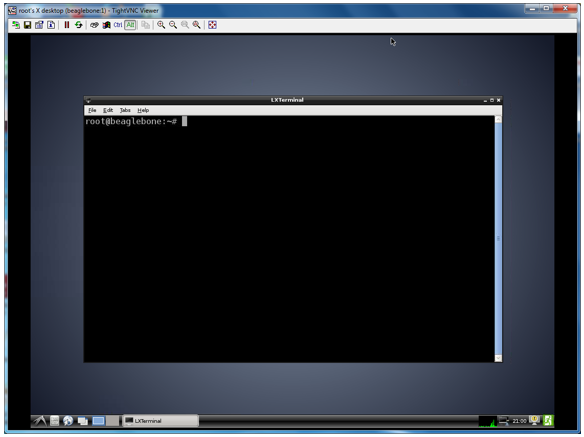
Now you see a terminal window and you can run any Linux command on this window.
Step 4 : [Optional] Change Font of the Terminal Window. This is not mandatory.. you don't need to do it if you don't need. The size of the font looked a little bit too small for me and I wanted to make it a little larger.
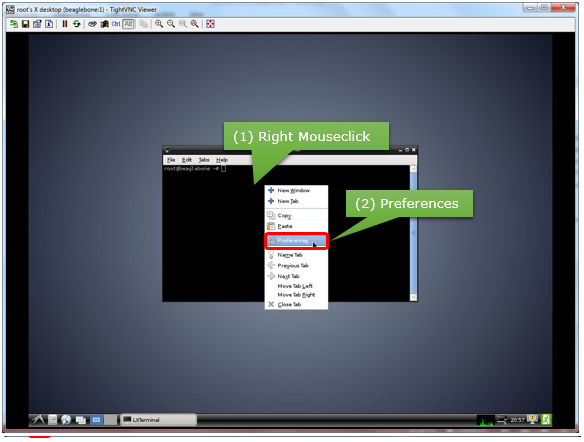
First right mouseclick on the terminal window and you would get a popup menu. Then hit [Preference] menu as shown below.
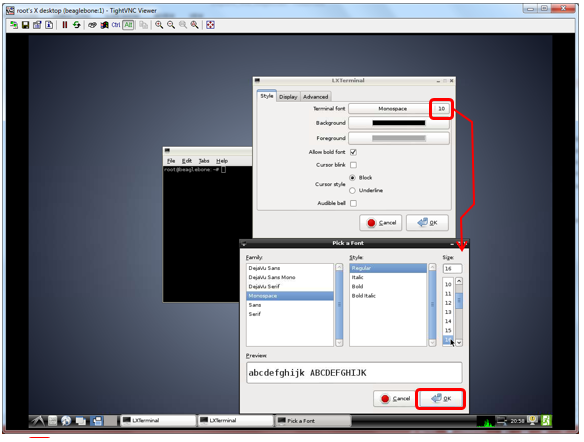
Then you would get the font setting window as shown below. Select the font and size as you like and hit [OK] button.
Now you should get the font and size as shown below.
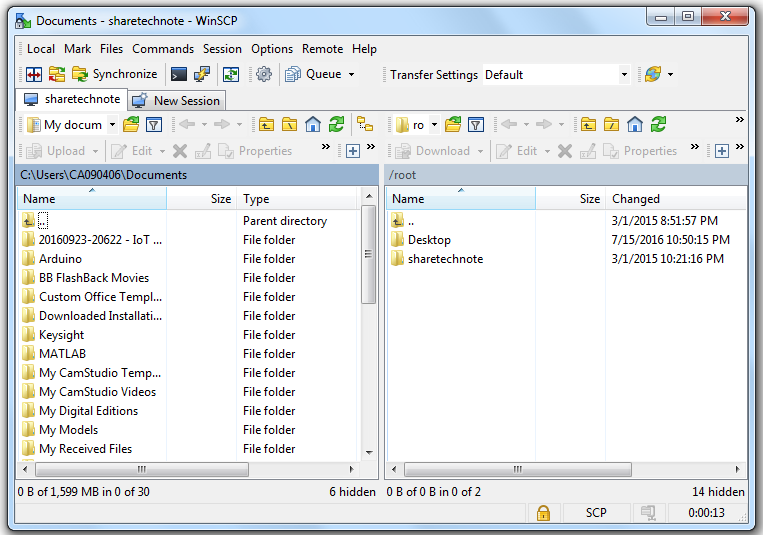
Even though I am interested in Linux in Beaglebone, I am still Windows person who likes doing things in Windows. As in most of the Beaglebone tutorials, many people would crerate a remote connection to Beaglebone operating system using telnet or ssh. If you just want to run the existing applications in the remote Linux, telnet or ssh would be good enough. However, if you need to write a program, you would find a tedius to do it on Linux unless you are very good at vi editor. For those who are not familiar with vi editor or simply does not like it, it would be good if there is a simple and handy file transfer tool between Windows and the remotely connected Linux. One very convinient tool for this would be WinSCP.
It is like Windows File Explorer and very easy to use and handy. See WinSCP page if you are interested in getting this and installing on your PC.
I haven't used Beaglebone for a while .. and noticed I forgot a lot of information when I trying again. Here goes some of the issues that I got and the solution that I've found.
1. Forgot password for root login
First I tried to connect to Linux on Beaglebone using Putty and it asked for password when I am trying to login as 'root'. (To be honest, I don't even remember that I set the password before).
Solution 1 : If you can get access to 'Cloud 9' IDE, select 'bash' shell tab there and run the command 'passwd' to set the new password.
Solution 2 : If you are blocked even for 'Cloud 9' IDE, you would need to reimage Linux.
2. Forgot password for tightvnc
I also forgot the tightVNC password that I set. This was relatively easy to solve.
Login to Beaglebone Linux with SSH (PuTTy) and use vncpasswd command to reset the password.
root@beaglebone:~# vncpasswd
Using password file /root/.vnc/passwd
Password: <= type in password here
Warning: password truncated to the length of 8.
Verify: <= type in the same password here
Would you like to enter a view-only password (y/n)? <== I selected 'n' (no) here